Retrofitting the Wallingford Eighties House
Started: 2019-01-21 12:05:06
Submitted: 2019-01-21 18:16:25
Visibility: World-readable
In which the intrepid narrator makes his mark on the Wallingford Eighties House
When we bought the Wallingford Eighties House, we intended to remodel the ugly eighties kitchen and open up the main living area to merge the kitchen, dining room, and living room into one big space. At first we hoped that we might be able to complete the kitchen renovation before moving into the house, but after talking to a couple of builders and design-build companies, no one had time on their schedule before sometime in 2019, so we turned our attention to making the house habitable for us before we moved in.

The first thing we did was replace much of the flooring with new carpet. When we bought the house it had more kinds of flooring than we could count, including ugly dark prefinished wood in the smallest first-floor bedroom (which we were planning on using as an office), nice-looking but uncomfortable bamboo in the master bedroom, and threadbare carpet on the stairs. We replaced all of these with new carpet, lending a consistent look to the house (and brightening up the office considerably).
Once the carpet was installed, the only thing keeping us from moving into the house was waiting for our furniture to be brought up from storage in Burlingame. I was ready to move into the house immediately; even empty, it felt more like my house than the furnished rental in Ballard -- if only because the new house was actually mine and didn't have anyone else's furniture sitting around. I had the camp chair and Japanese futon I lived with in my last two weeks in San Francisco -- and living in an empty unfurnished house felt comfortable to me, since I'd done it before, at the beginning and end of my time in San Francisco. But we waited for our stuff to arrive, at the end of the first week after Thanksgiving.
I walked through the house, assembled a very long punch list of things I wanted to do to the house, and continued to add to the list as I went. The first thing on my list was to replace the door handles, which were a random assortment of original (if faded) brass handles and newer brushed nickel handles, some of which had keys (not all of which we had). Some of the interior doors to the bedrooms included deadbolts, which seemed like a great way for our kids (especially Julian) to lock themselves in random rooms without a good way for us to get them out.
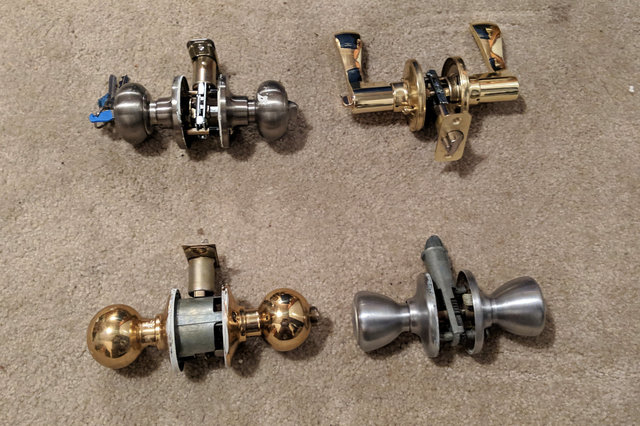
Kiesa suggested door levers, since they were relatively more accessible, and Julian was old enough that we didn't need to worry much about him getting into rooms we didn't want him in. I looked around online for door levels that met whatever aesthetic sense I thought I wanted to instill in the house. At one point Calvin looked over my shoulder as I was paging through hundreds of nearly-identical door levers on Home Depot's website, pointed to one of them, and indicated that he liked it. I liked the gracefully curving lines -- and it was brushed nickel, a sufficiently-modern style that I felt comfortable standardizing on it for the remodel. I ordered a batch to replace the most critical doors -- those with interior key locks.
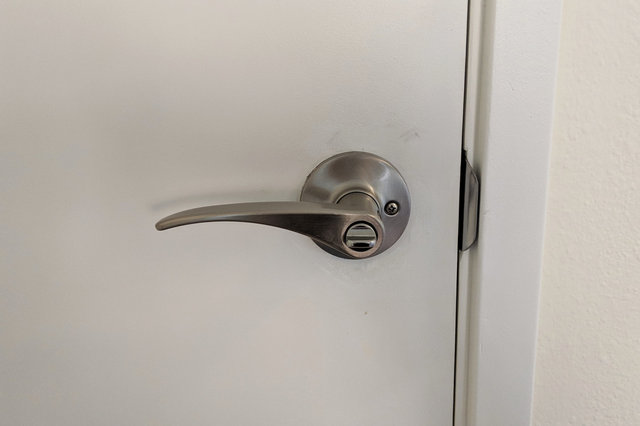
I installed the first batch of door levels the week before Thanksgiving (after returning from Maui and before heading to Central California for Thanksgiving), and the transformation was impressive: the house already felt more modern. I eventually replaced every single door handle in the house, in three batches -- and added a deadbolt on the door leading to the garage (replacing the privacy lock that had been there), and rekeying all of the exterior deadbolts so they matched the new keypad lock I installed on the front door.
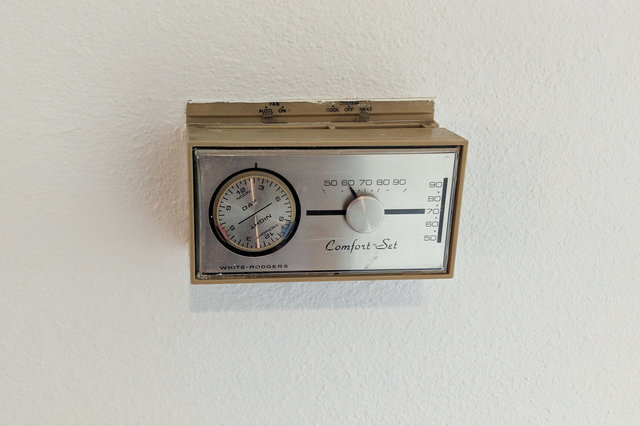
We bought the house with what I took to be its original thermostat, a vintage mercury-bulb device that only had one setting. I wanted, at the very least, a thermostat that I could program with a good UI, both on the device itself and (ideally) on a phone and from a browser. I researched thermostats and came up with the three best "smart" thermostats: the Nest, the Ecobee 4, and the Ecobee 3 Lite.
The Nest had the best brand recognition, but I wanted a thermostat that I could program, not that I had to teach. (I am too lazy to teach my thermostat; I want to tell it what to do in advance.) Nest, in its vast wisdom, did not seem interested in letting me program the thermostat.
The Ecobee 4 looked like a good programmable smart thermostat, fitting all of my requirements -- but then I realized that it had a built-in Alexa-compatible microphone, and there didn't seem to be a good way to turn it off. The Ecobee 3 Lite was pretty much the same thing, only without Amazon spying on my house 24/7. So that's the one I bought, and installed it in my house. I also installed a pair of remote sensors in other rooms so I could at least monitor the temperature and (if the promises in the marketing copy were reasonably accurate) hope to get better heat distribution through the house by averaging the temperature in all occupied rooms together, and also by running the fan more often.
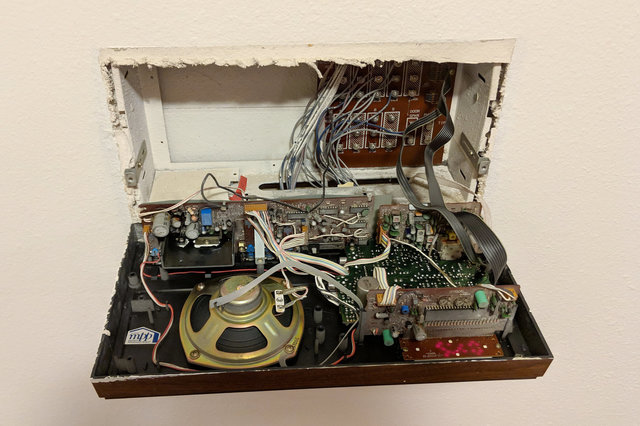
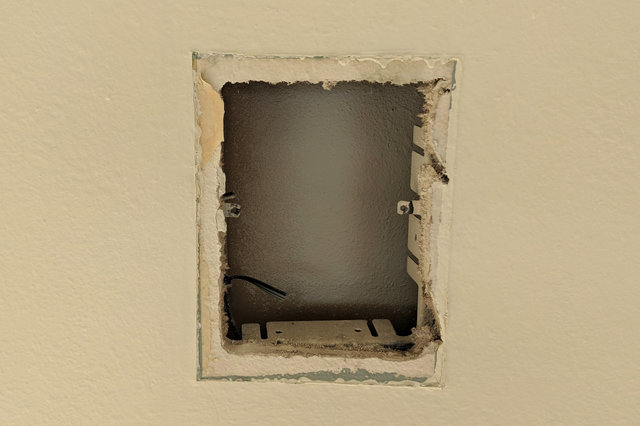
My next target was the original eighties intercom system scattered throughout the house, complete with a base unit in the dining room, an exterior speaker at the front door, and four remote units in various bedrooms. It didn't work (and one of the designers we brought to look at the house said they generally never worked very well). I removed the units from all of the walls, then patched and plastered over the holes, then had to figure out how to match the paint. I wasn't fond of the ugly pale off-white yellow paint on most of the walls of the house, but I thought I'd rather retouch the existing paint rather than repaint the entire house (even though I still want to repaint the entire house). The Internet suggested I could cut out a small square of wall and take it to a paint shop to get it matched, so I did that, and ended up with a surprisingly-good match of the paint. I didn't do a very good job matching the texture, but the paint is a sufficiently-good match that I don't notice it unless I'm looking right at it.
The one place where I didn't bother to patch the hole in the wall was in the dining room, where Kiesa planned to put the China cabinet -- and where we were planning on demolishing the wall as part of the kitchen remodel. But on moving day, the movers discovered that they couldn't carry the China cabinet up the stairs (which I understand, since they include a 180-degree turn half-way up the stairs), so we were left with a hole in the wall and nothing to cover it with.
I remembered seeing the artistic interpretation of a hole in an office wall by Twitter user @Malboury and created my own, channeling all of the art-curator doublespeak I've seen in museums:
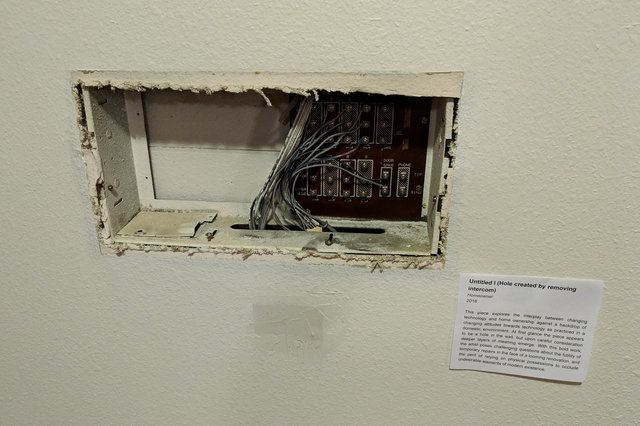
Untitled 1 (Hole created by removing intercom)
Homeowner
2018
This piece explores the interplay between changing technology and home ownership against a backdrop of changing attitudes towards technology as practiced in a domestic environment. At first glance the piece appears to be a hole in the wall, but upon careful consideration deeper layers of meaning emerge. With this bold work, the artist poses challenging questions about the futility of temporary repairs in the face of a looming renovation, and the peril of relying on physical possessions to occlude undesirable elements of modern existence.
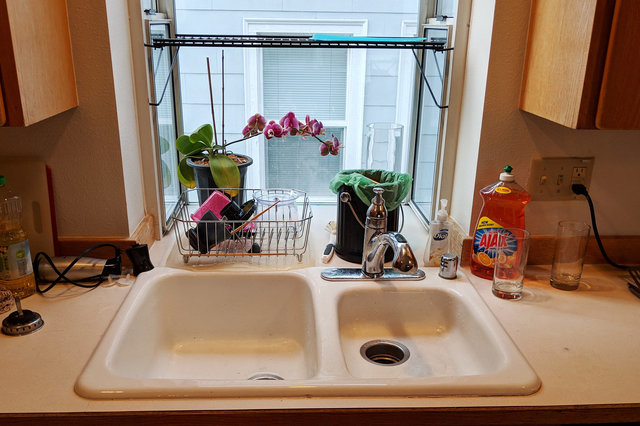
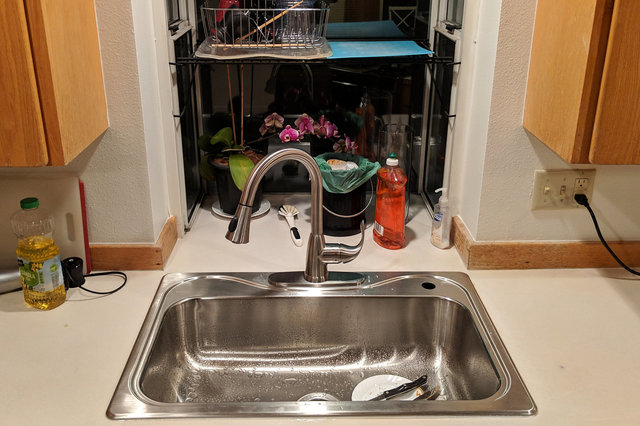
After moving in my next objective was to replace the sink. We had been blessed with an awkward two-bowl sink where the rightmost bowl, closest to the dishwasher, included the garbage disposal -- and was also only a couple of inches deep. I guess this was supposed to be the scrape sink, immediately before putting dishes in the dishwasher, but it didn't fit my workflow. I found a single-bowl stainless steel sink at Lowe's and spent most of a Saturday installing it, including three trips to the hardware store (one to buy the sink, one to buy plumber's putty to seal the garbage disposal to the sink, and one to buy a new set of waste water outlet pipes, since the new sink put the garbage disposal outlet in a new place. I was so much happier with the new sink.
The last big thing I replaced in the kitchen was the stove. When we bought the house we discovered that the stove wasn't plugged in (which seems to have been a material omission in the seller's disclosures but I guess we bought the house as-is.) I couldn't quite reach the back of the stove to plug the power in, so I enlisted Kiesa's help to lean the stove and plug it in. When I plugged it in, it immediately sparked and threw the breaker -- which was my signal that I should call a professional to deal with it.

Kiesa called a professional, who professionally diagnosed that the stove was not worth repairing. This left us with the problem of finding a stove to replace it with, for the six or eight months we'll be living in this kitchen before the remodel begins. This was compounded by two factors: the wiring only accommodated a single, 120-volt circuit, making it impossible to install the induction stove Kiesa wanted; and the gas supply valve was located on the floor under the stove, in an awkward place located under the left side of the stove. Part of the frame of the existing stove had been cut away to provide just enough clearance for the inlet. We considered buying a new, temporary gas stove for the next six months; but the home appliance installers seemed to want a properly-located gas supply behind the stove.
It turned out that one of my brother-in-law Tristan's friends (an acquaintance I remember from college) was remodeling his kitchen and had an old gas stove to give away -- in Anacortes, a 90-minute drive away. I took a Sunday to drive to Anacortes, pick up the stove, and drive back to Seattle, parking the new stove in the garage for a week until I had time to install the new stove.
To install the stove I rented an appliance dolly (from U-Haul in Ballard), which let Kiesa and I, working together, get the old stove down one flight of stairs to the garage and the new stove up the stairs. I picked up a gas line supply kit, with a new hose; then I had to return to the hardware store for a 90° street elbow, and a 2x4 that I cut into pieces to give the stove enough vertical clearance above the badly-placed gas inlet. I ended up with a stove up on blocks in my kitchen -- but it worked, and it's a temporary solution.
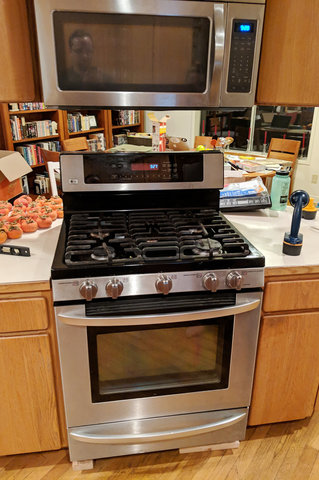
Just to be on the safe side, Kiesa bought a natural gas detector alarm and set it up in the dining room so we have some notice if my stove install fails.
(There was also a multi-part adventure with the inlet valve on the the toilet on the main floor, which led to it being out of commission for some time; but this is somewhat less interesting, despite also taking multiple hardware store visits to solve.)
There's still more work to be done to retrofit the Wallingford Eighties House -- including a significant remodel of the kitchen -- but we've picked the low-hanging fruit to refresh the house so it suits us better.
